 Pin it
 I stumbled into making these protein cheesecake cups on a Tuesday afternoon when my gym buddy texted asking if I had anything protein-packed to bring to a potluck. I had cream cheese softening on the counter, Greek yogurt in the fridge, and exactly six muffin liners I'd been meaning to use. What started as improvisation became the easiest dessert I've ever made, and now friends ask me to bring them to every gathering. They're proof that healthy doesn't have to mean complicated.
The first time I brought these to a potluck, I was nervous because everyone was expecting something more complicated. My friend Sarah took one bite and immediately asked if I could make them for her daughter's birthday party. Watching someone's eyes light up when they realized a protein-packed dessert could taste this creamy and satisfying felt like winning the kitchen lottery. That's when I knew these cups were going to become a regular thing in my life.
Ingredients
- Oat flour: The foundation that holds everything together with subtle texture; I learned that pressing it down firmly prevents a crumbly bottom, and using a measuring cup helps you pack it just right.
- Almond or peanut butter: This acts as the binding agent and adds natural fat that keeps the base from being too dense; either works beautifully depending on what you have on hand.
- Honey or maple syrup: Just enough sweetness in the base to complement the creamy top without making it cloying.
- Cream cheese: Must be softened so it blends smoothly with the yogurt; cold cream cheese will create lumps and ruin the silky texture you're after.
- Greek yogurt: The secret ingredient that adds protein without making the filling taste thin; the tanginess balances the sweetness beautifully.
- Vanilla whey protein powder: Two scoops gives you the protein boost without overpowering the cheesecake flavor; stir slowly to avoid clumping.
- Vanilla extract and lemon zest: These brighten everything up; the lemon zest especially became my favorite discovery because it adds complexity you don't expect in a protein dessert.
Tired of Takeout? 🥡
Get 10 meals you can make faster than delivery arrives. Seriously.
One email. No spam. Unsubscribe anytime.
Instructions
- Make the crust:
- Mix oat flour, nut butter, honey, and salt in a bowl until you have a texture like wet sand. I learned the hard way that if you don't press it down firmly into each liner, the base becomes too airy and falls apart when you bite into it.
- Pack the foundation:
- Divide the mixture evenly among six muffin liners and press down with the back of a spoon or your fingertips until it's compact and holds its shape. This step feels tedious but it's what separates a falling-apart bite from a satisfying crunch.
- Blend the filling:
- Beat softened cream cheese until it's completely smooth, then add Greek yogurt, protein powder, honey, vanilla, and lemon zest. The mixture should be creamy and thick but still spoonable; if it's too stiff, your filling will be gluey instead of silky.
- Assemble with care:
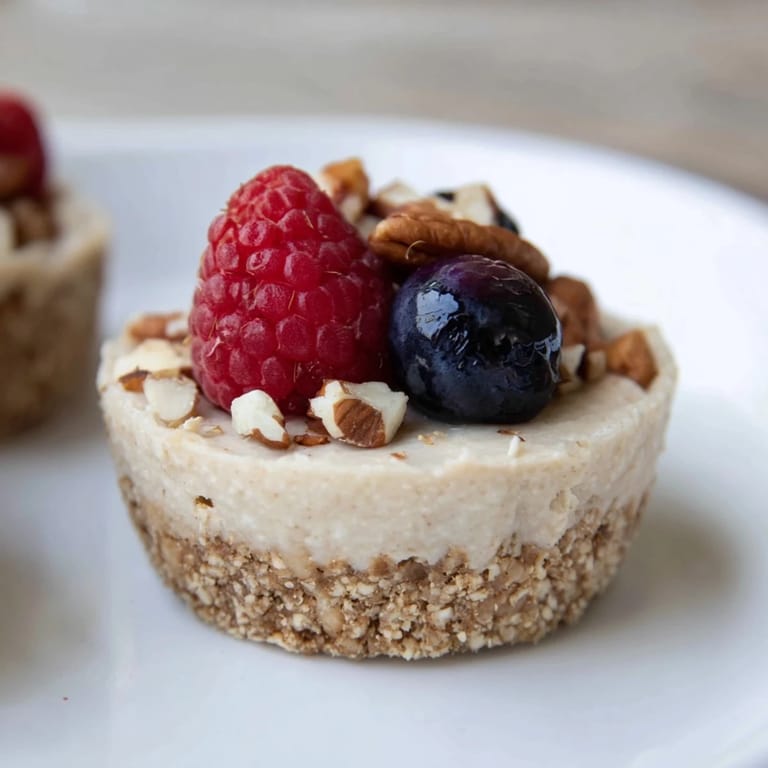
- Spoon the cheesecake mixture over each base and smooth the tops with a spatula. I like to give each one a gentle tap on the counter to release any air bubbles and level the surface.
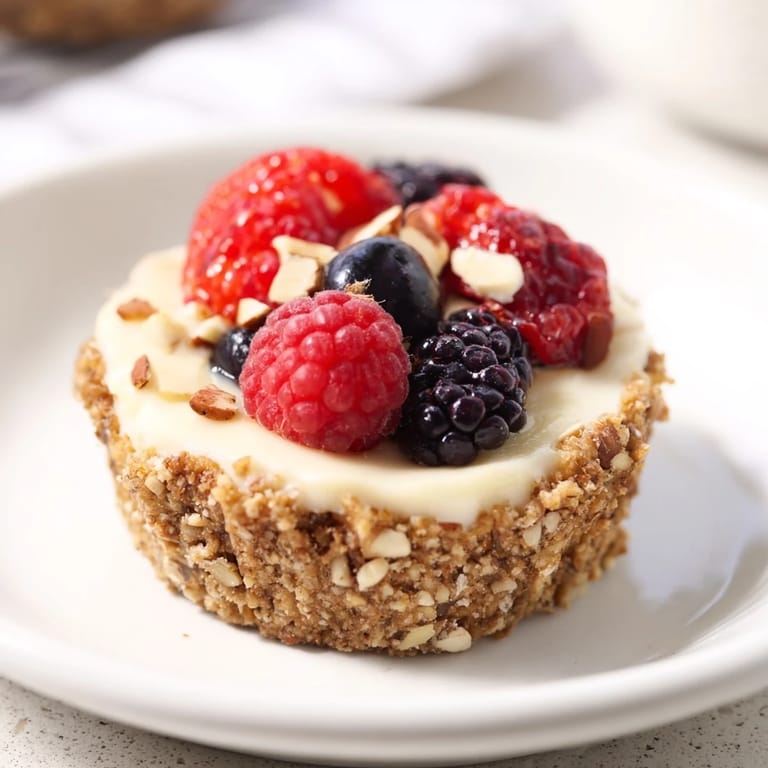
- Top generously:
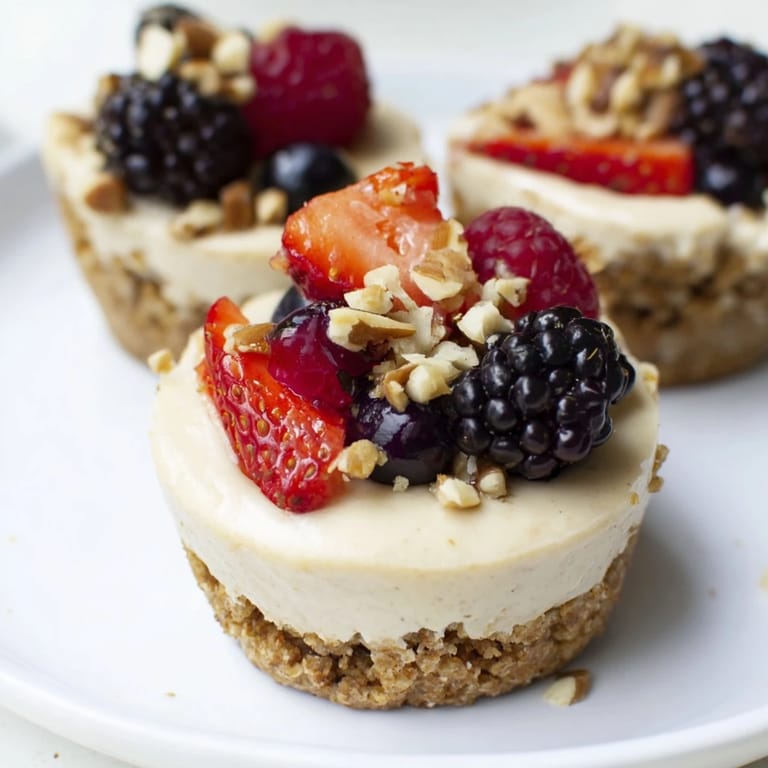
- Add berries, nuts, or chocolate shavings before chilling; the toppings stick better to the soft filling than they would if you added them afterward.
- Chill until firm:
- Two hours minimum in the refrigerator, though overnight is even better because it lets all the flavors settle and the filling truly set. The waiting is the hardest part, but it's what makes them perfect.
 Pin it
 I'll never forget the moment my mom tried one of these and said, "This is actually healthy?" with genuine surprise in her voice. It's one of those rare dishes that bridges the gap between indulgence and nutrition, making everyone feel a little less guilty about treating themselves.
Playing with Flavors
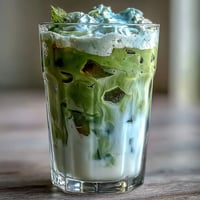
Once you nail the basic version, these cups become a playground for creativity. I've made them with matcha protein powder and topped them with white chocolate, tried chocolate protein with raspberry swirl, and even did a birthday cake version with sprinkles. The beauty is that you can swap the vanilla extract for almond, add cocoa powder to the filling, or mix in coffee for a mocha twist. The structure stays the same, but the flavors can go anywhere your kitchen creativity takes you.
Make-Ahead Magic
These are the ultimate make-ahead dessert because they actually improve with a day or two in the fridge as the flavors meld together. I've kept them for up to five days in an airtight container, which means you can prepare a batch on Sunday and have protein-packed treats ready all week. They travel well too—I've packed them in lunchboxes, brought them on picnics, and even taken them on plane rides because they don't melt or require any special handling.
Storage and Serving Secrets
The muffin liners make these incredibly portable and prevent your fingers from getting messy when you eat them straight from the fridge. If you want to remove them completely, just peel the liner away gently while they're still cold and they'll hold their shape perfectly. I've found that letting them sit out for five minutes before eating makes them slightly creamier, though straight-from-the-fridge is delicious too if you want that almost-ice-cream texture.
- Pop them in the freezer for up to three weeks if you want to extend storage beyond a week in the fridge.
- A small piece works perfectly as a post-workout snack or afternoon pick-me-up without feeling like an indulgent dessert.
- These pair beautifully with hot coffee, espresso, or even a green tea if you're going for balance.
 Pin it
 These little cups have quietly become my answer to that moment when you want dessert that actually works for your body. They remind me that eating well doesn't mean sacrificing joy.