 Pin it
 My neighbor stopped by one Tuesday evening with four beautiful bell peppers from her garden, and I found myself staring at them on my counter wondering what to do with something so perfect. That's when it hit me—why not stuff them with something that actually tastes like comfort, not just an obligatory vegetable vessel? I rummaged through my fridge, found some leftover rotisserie chicken, and started building a filling that felt almost indulgent with cream and Parmesan. The house smelled incredible within minutes, and by the time they came out of the oven golden and bubbling, my neighbor was already asking for the recipe.
I made this for my sister's book club last spring, and watching everyone go quiet after that first bite told me everything I needed to know. Someone asked if I'd made the chicken from scratch, and I had to confess about the rotisserie shortcut—which only made them like the recipe more because suddenly they realized they could actually pull this off at home.
Ingredients
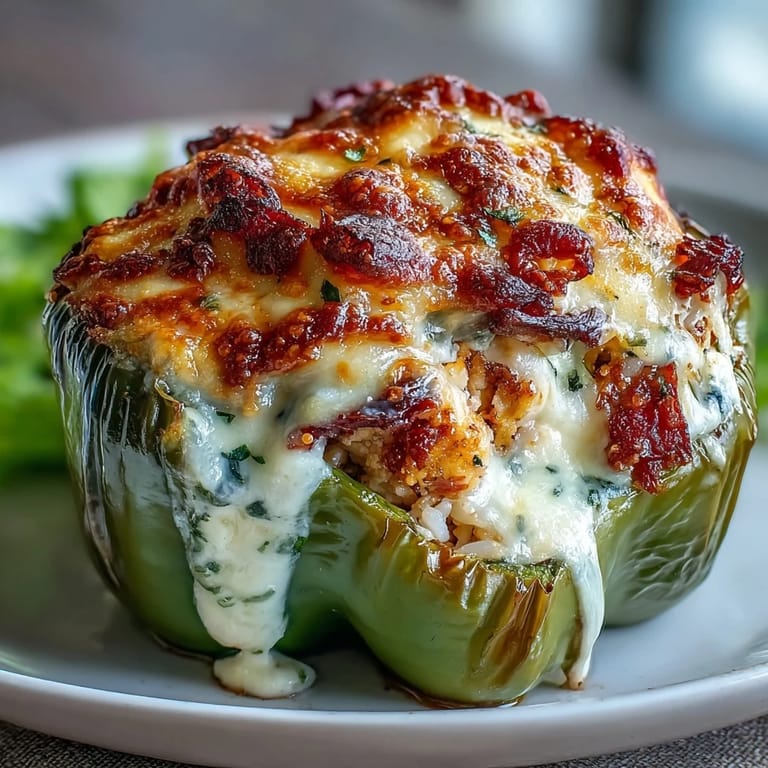
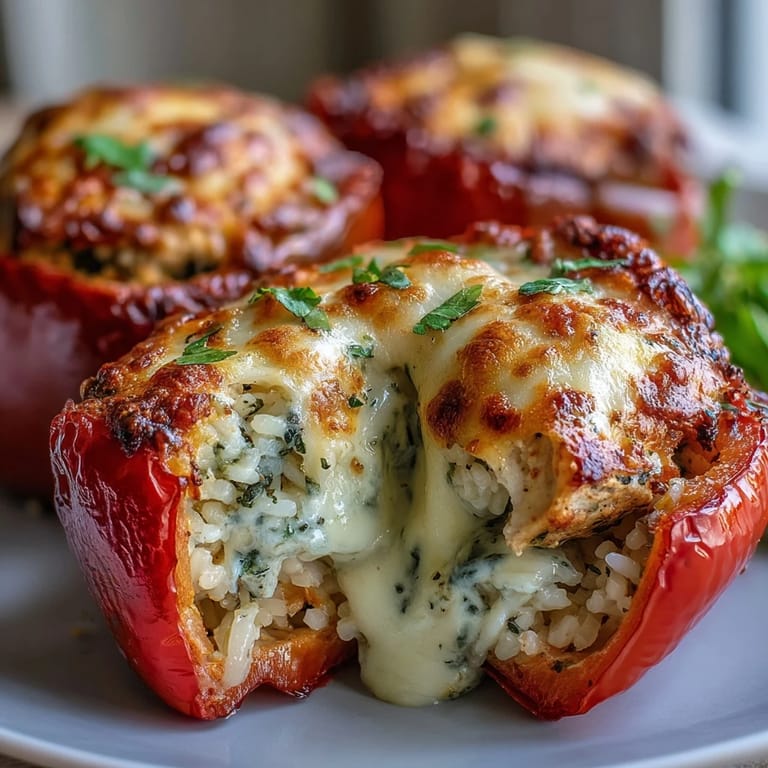
- Bell peppers: Pick whatever colors call to you—red ones are sweeter, yellows bring brightness, and green has a subtle bite that plays beautifully with the creamy filling.
- Yellow onion: Dicing it fine means it melts into the mixture rather than creating little crunchy surprises, though honestly that's not a bad thing if you're into texture.
- Garlic: Fresh minced garlic is non-negotiable here; the jarred stuff will make you regret it, trust me on this one.
- Cooked chicken breast: Shredded works better than diced because it distributes throughout the filling more evenly and feels lighter in your mouth.
- White or brown rice: Use what you have—white rice gives you a softer, creamier base while brown adds earthiness and extra chew.
- Heavy cream: This is what transforms the filling from good to can't-stop-eating-it; there's really no substitute that maintains the same silky texture.
- Parmesan cheese: Freshly grated makes a noticeable difference in how smoothly it melts and how sharp the flavor becomes.
- Mozzarella cheese: This tops everything and turns golden in the oven; pre-shredded works fine if you're in a rush.
- Olive oil: Keep it simple—nothing fancy needed for the cooking stage.
- Italian seasoning: Your baseline for flavor, though you could play around with different herbs if you're feeling experimental.
- Salt and pepper: Season as you go because the cream and cheese will absorb more salt than you'd expect initially.
- Fresh parsley: Optional but worth the effort—it adds color and a bright, fresh note that cuts through the richness beautifully.
Tired of Takeout? 🥡
Get 10 meals you can make faster than delivery arrives. Seriously.
One email. No spam. Unsubscribe anytime.
Instructions
- Get your oven and dish ready:
- Set your oven to 375°F and lightly grease a baking dish while it preheats; you want the peppers to have room to stand upright without crowding each other or they'll steam rather than bake evenly.
- Prep your peppers:
- Slice off the tops and scoop out all the seeds and white membranes—this is easier than it sounds if you work from the inside rather than trying to dig from the outside. Stand them cut-side up in your prepared dish and they're ready to receive the filling.
- Build the filling base:
- Heat olive oil in your skillet over medium heat and let the diced onion soften for about three minutes until it starts to turn translucent at the edges. Add the minced garlic and you'll immediately smell why this combination has been making people happy for centuries—let it sit for just a minute so it releases its fragrance.
- Combine the dry components:
- Stir in your shredded chicken, cooked rice, Italian seasoning, salt, and pepper; this is when the filling starts to feel substantial and you can already imagine how it'll taste. Mix everything together until it's evenly distributed because no one wants to bite into a pocket of plain rice.
- Make it creamy and cheesy:
- Pour in the heavy cream and add three-quarters of your Parmesan—the moment the cream hits the hot pan you'll see it start to coat everything in that silky richness that makes this dish so irresistible. Stir constantly for three to four minutes until you can see the cheese has melted completely and the mixture moves as one unified, creamy mass.
- Fill those peppers:
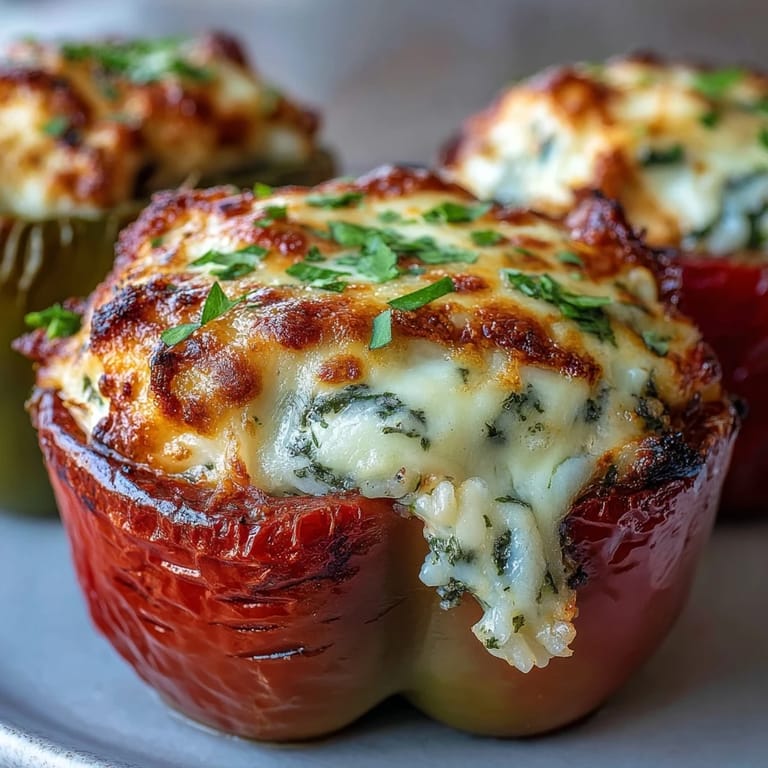
- Spoon the filling evenly into each pepper—don't be shy about packing it in because it won't overflow when it cooks. Top each one with a little mozzarella and the remaining Parmesan, creating a golden crown that'll turn irresistibly crispy in the oven.
- First bake phase with protection:
- Cover your baking dish loosely with foil and bake for twenty-five minutes—the foil keeps the peppers from getting tough on the outside before the insides have a chance to soften. You can peek under if you're curious, but don't leave it off the whole time or the cheese will brown too quickly.
- Final bake for the golden finish:
- Remove the foil and bake for another ten to fifteen minutes until the cheese is bubbling around the edges and has turned golden brown in spots. The peppers should yield to a fork but still hold their shape—that's the moment of perfect doneness.
- Fresh finish:
- Sprinkle with fresh parsley right before serving if you want that pop of green and herbaceous brightness, though honestly they're gorgeous either way.
 Pin it
 There's something about watching someone take that first bite and seeing their whole expression shift when they realize how good it is that never gets old. My dad, who usually critiques everything I cook, asked for seconds without any commentary, which in his language means genuine approval.
Why This Dish Became My Go-To
I stopped making stuffed peppers with ground beef and started thinking about them as vehicles for something more interesting, something with actual depth and creaminess. The shift happened when I realized that most people don't think of stuffed peppers as fancy or restaurant-worthy, which means they're genuinely surprised and delighted when they taste something this refined. It's become my secret weapon for casual entertaining because it feels impressive without requiring anything too difficult or obscure.
Variations That Keep Things Fresh
The beauty of this recipe is that it handles substitutions incredibly well—I've added sautéed mushrooms when I had them, stirred in fresh spinach for extra greens, and even swapped sun-dried tomatoes when I was feeling ambitious. Sometimes I use roasted red peppers if I'm short on time, though the texture is different since they're already soft. The filling is honestly forgiving enough that you can play around with different cheeses, herbs, or even add a touch of garlic powder if you want an extra layer of flavor.
Serving and Storage Ideas
These peppers are a complete meal on their own, but a crisp green salad on the side brightens everything up and prevents the richness from feeling heavy. I've served them alongside garlic bread for when I want to lean into comfort food, and they pair beautifully with a chilled white wine—Pinot Grigio or Chardonnay if you're looking for recommendations. Leftovers actually improve after a day in the refrigerator as the flavors continue to meld, and you can reheat them gently in a low oven until they're warmed through.
- Store leftovers in an airtight container for up to three days, though they're honestly best eaten within twenty-four hours while the cheese still has that slight crisp.
- You can assemble the peppers completely ahead of time and refrigerate them for up to eight hours before baking, which makes this perfect for meal prep or entertaining.
- If you have frozen cooked rice on hand, this comes together even faster—pull it straight from the freezer and it'll thaw while the onions and garlic cook.
 Pin it
 This recipe has become the kind of thing I make when I want to feed people something that feels both special and completely achievable. Every time I watch someone enjoy these peppers, I'm reminded that the best cooking isn't complicated—it's just ingredients that respect each other, prepared with a little attention and served with genuine affection.
Recipe Questions & Answers
- → Can I make these stuffed peppers ahead of time?
Yes, you can assemble the peppers up to 24 hours in advance and store them covered in the refrigerator. When ready to bake, add an extra 5-10 minutes to the cooking time since they'll be cold going into the oven.
- → What type of chicken works best?
Rotisserie chicken works wonderfully for convenience, or you can use leftover cooked chicken breast. Just shred or dice it into bite-sized pieces so it incorporates evenly into the creamy filling.
- → Can I freeze these stuffed peppers?
Absolutely. Assemble the peppers, wrap individually in plastic wrap and foil, then freeze for up to 3 months. Thaw overnight in the refrigerator before baking as directed.
- → What sides pair well with this dish?
A crisp green salad with vinaigrette cuts through the richness perfectly. Garlic bread, roasted vegetables, or even a simple side of steamed green beans work beautifully alongside these stuffed peppers.
- → How do I know when the peppers are done?
The peppers are ready when they're tender when pierced with a fork and the cheese on top is golden and bubbly. The filling should be hot throughout, and the peppers should have slightly softened but still hold their shape.
- → Can I make this dairy-free?
You can substitute heavy cream with full-fat coconut milk or cashew cream, though the flavor profile will change slightly. Use nutritional yeast or a dairy-free Parmesan alternative for the cheesy element.